Thinking about how to make the clothing labels with embroidery machines? Do you want to translate your creative ideas into clothing labels or professional tags at home? All you need is a guide that can assist you in the process with great facilitation and ease. If you have embroidery experience and want to know how to make clothing labels, you are in the right direction.
This article offers a guide on how to make clothing labels with best embroidery machines based on the step-by-step process and the safety precautions to ensure the attainment of end result.
How to Make Clothing Labels with Embroidery Machine; Step-by-Step Process
Supplies to Make the Clothing Labels
-
- Ribbon of any color
- Threads (make sure the colour contrast of ribbon and thread is complementing each other)
- Any embroidery machine (can be home use if you are a residential worker)
- A pair of scissors
- Adhesive stabilizers
The process to Make the Clothing Label with Embroidery Machine
Step # 1
First of all, with the assistance of the smallest hoop, hoop your stabilizer. Here, keep in mind to remove the paper before hooping. After performing this step, get your centre marks from the hoops’ grid to the adhesive stabilizer.
Step # 2
Now take a ribbon. Make sure that the ribbon length is larger than what you want in the final outcome that can give you an extra edge while cutting and going through the process. Then, lay down this ribbon on the adhesive stabilizer.
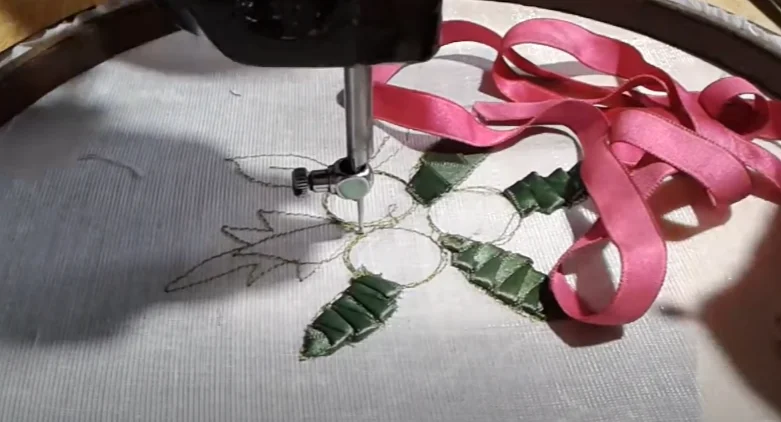
Here, making the ribbon straight is significant to ensure favourable results. For this purpose, you can keep the ribbon in line with the horizontal centre of the adhesive stabilizer. Once you are done aligning the ribbon straight to the centre, remove the ribbon’s embroidery design. Thereby, the ribbon can set properly on the centre and does not move from the exact place.
If you are doing this on the computer, make sure that you move the cursor according to the suitability to set the screen’s embroidery design.
Step # 3
Now, repeatedly, look at the design with a keen eye for no problem in the further process. For this, you can use the trial key on your computer. This key is efficient in the placement of any embroidery design and the perfect print.
After this step, take out the print of your design to proceed with the next step. Furthermore, You can also review Best Commercial Embroidery Machines to to handle the heavy and continuous workload.
Step # 4
This step is marked by the use of an embroidery machine that is the legend of this process that is responsible for the ultimate job.
First of all, you need to lift up the needle of your embroidery machine at the throat plate with the support of a hand wheel placed at one end of the machine. Once you are done with it, place your ribbon in a position that can follow the easy process, and can perform the embroidery task.
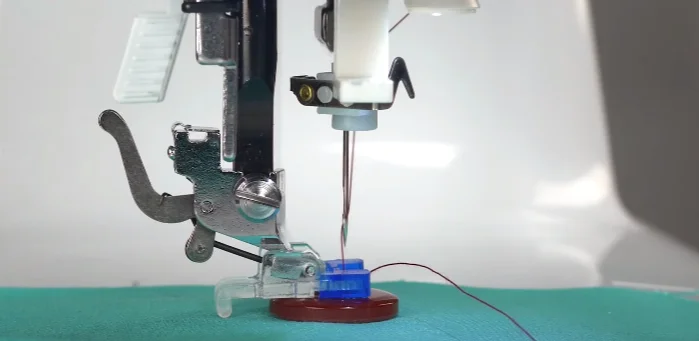
Now, after you have positioned the ribbon, use the handwheel and press the embroidery needle down to go further. Now, start the embroidery process. In this process, the machine with an extra LED light can facilitate you. But, you can also do this otherwise with great ease.
Step # 5
Later after the process is done efficiently, make sure you have unhooked the machine. In the previous process, keep in mind to use the machine with an automatic thread trimmer that can offer you an overall tidy and well-ordered embroidery design.
Now remove the hoop from the adhesive stabilizer and follow up with ironing the embroidery design to keep it pressed, and now you are done.
Furthermore, you can also save time and space by using Best Embroidery Sewing Machines Combo.
FAQs
What are the things to consider while you are making the clothing label with an embroidery machine?
There are certain things you must keep in mind to follow the procedure. Firstly, make sure you are not distracted by anything. Only then can you align all the fonts in the perfect order without any mismatched positioning. Furthermore, you must consider that while you are pulling the ribbon, make sure you have created a patch. This can save you from a lot of trouble that you can guarantee by pasting the adhesive on the hooped piece.
Can you make the clothing labels with embroidery machines at home?
The answer to this is yes; you can very efficiently and conveniently create the clothing label at home. You might look into the proper experience with the embroidery machines and the credible machine that have the automatic features for residential projects. These computerized machines are great support for home users with high versatility and additional features that can make the process trouble-free.
Wrapping Up
The process requires a keen interest and intricacy, demanding a lot of experience and patience to work with. Here comes this guide with the perfect steps you can follow to get the best and perfect label for your professional tag. You can perform this task at home effectively with certain things in mind that are mentioned above.
In the end, enjoy translating your ideas into practice.
Leave a Reply