The detail and style that embroidery adds to a garment cannot be defeated. However, you can remove the embroidery if you decide to change your mind about the design or you are fed up with it. The process for removing the embroidery is straightforward, allowing the user to have a trouble-free working experience over their garments. And after you are done with the embroidery, there are some holes left by the stitching. You can even remove them with a little ironing.
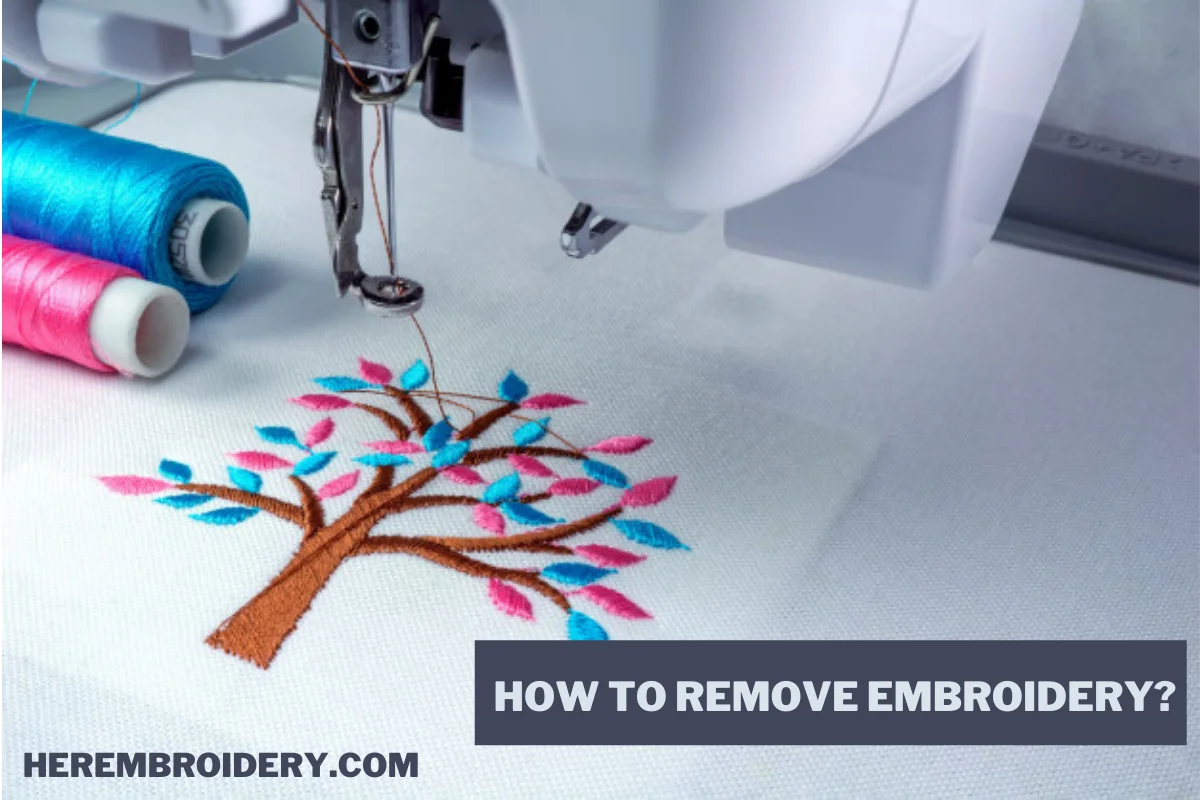
Here in this article, Her Embroidery brings you the complete process for how to remove embroidery from your garment that, can be a shirt, jacket, trouser, or sweater. And upon completion of the process, you would be able to apply another design or any other beautiful patch you may like to have in it. With this, the garment of yours is ready to be used all over again. For this reason, here is the ultimate guide that will allow you to remove all the unnecessary embroidery from your garments.
How To Remove Embroidery Things Required
Here are the things that you may require when it comes to removing unwanted embroidery from your garment.
- Ripper
- Eraser
- Tweezer
- Brush
- Magnifying Glass
Ripper
A sewing tool like the ripper is probably quite familiar to you. Since ages, these handy tools can be found in almost every sewing box. Further, they are available in various styles sizes and not to forget the colors. Additionally, handles, shafts, and heads are part of these tools. Using from the head of a seam ripper, the person cutting the thread inserts the sharp point into a seam of the fabric. The rubber tips of a seam ripper can snag and remove leftover threads as well as remove unnecessary stitches. It is an excellent time-saving tool for everyone who uses it.
Eraser
Now coming on to the shape and overall appearance of the eraser, you might think that it’s a beard trimmer. An eraser or you may call it a sewing eraser, is an electric device that uses electricity. It is completely different from a seam ripper. The opertions of this eraser makes it a tool that is being operated under stitches. Further, the embroidery eraser works by clipping loose the threads. And it does so more in a time than a seam ripper. It is probably no surprise that Peggy’s Stitch Eraser is one of the more well-known brands. There is just one minor detail about this tool – it is better suited to larger embroidery pieces and professionally applied embroidery.
Tweezer
A tweezer is a tool that is easily available at everyone’s dressing table or in the washroom. It is built in a manner to pluck things and with this attribute picking out stitches is much easier using a tweezer because it can reach places your hands or your nails can’t reach.
Brush
This is an inexpensive tool that is known as a lint roller. It is the best tool for removing embroidery because it’s small in size and it is very easy to operate. It does this by eliminating residues such as lint, fuzzy threads, any dust particles, or hair. After cleaning with the brush, you will be able to get a better view of the cloth or the surface you want to fetch the results for you. Alternatively, you can use duct tape or adhesive tape.
Magnifying Glass
Due to the delicate nature of your embroidery, removing the embroidery from the fabric is a tricky thing. Even some thinnest threads and stitches make your work attentively. And for that reason, a magnifying glass is required to zoom in a little more. A small magnifying glass can be just the thing.
However, If you are new to embroidery field then you can start your journey with best embroidery machines for beginners. These machines are user-friendly and can help you to learn the embroidery skills.
Guide For How To Remove Embroidery
Here is the complete process for how to remove embroidery from your fabric.
- Turing The Fabric
- Cutting Your Stitches
- Cleaning The Fabric
- Finishing Touch
Turing The Fabric
The first step always remains the same regardless of what you will be working on. Whether it is a shirt, t-shirt, sweater, jacket, jeans, or a cap. It is important to turn your garment inside out in order to remove the stitching properly. By doing so, you will be able to see the stitches clearly, and you will know what needs to be removed. Now use the seam ripper or your embroidery eraser on the back of the fabric. And this will prevent from damaging the fabric. Additionally, place your fabric into the hoop after removing embroidery items. With this, you will be able to keep the fabric in strength and enjoy your work more precisely.
Cutting Your Stitches
This is the second step, and in this, you have the seam ripper hook that must be gently placed under the bobbin threads of the garment. Right after turning the garment inside out and seeing what stitches need to be removed. Further, it is important to try and remove as many threads at a time as possible while working slowly and gently. It is also recommended that you begin by adding small amounts of thread at a time to prevent fabric damage.
Cleaning The Fabric
In the third step, you need to flip the garment over again. Now you can use the tweezers and the magnifying glass to aid the operations. In this way, you will bring the garment in the exact form. After using either of the two tools, you will probably see a lot of loose threads. Using embroidery scissors, you can easily remove threads that are still stuck. You will have to repeat this process until all the threads are gone.
Finishing Touch
After removing all threads, you will need to use a lint brush or tape to remove any remaining lint. This allows you to clearly see the overall surface of the fabric or the garment after the removal of embroidery. The front and back of the garment should both be brushed or rolled to remove any leftovers. Now moving towards the final steps, you need to check your work once more with the help of a magnifying glass. This will make sure that you have properly done the work properly. With this being said now wash the garment and have it ironed to bring it in its proper shape and style.
Moreover, If you are looking for high-quality stitching and a large number of built-in designs for creating masterpieces then check best embroidery machines. These machines are worth-buying and offer the best performance on a low budget.
Leave a Reply