Embroidery is an easy way to make your fabric a masterpiece, in other words, it is actually painting with threads. You can create spectacular artistry by using simple, basic, or complex and mixed stitches or everything in between centering around your requirement.
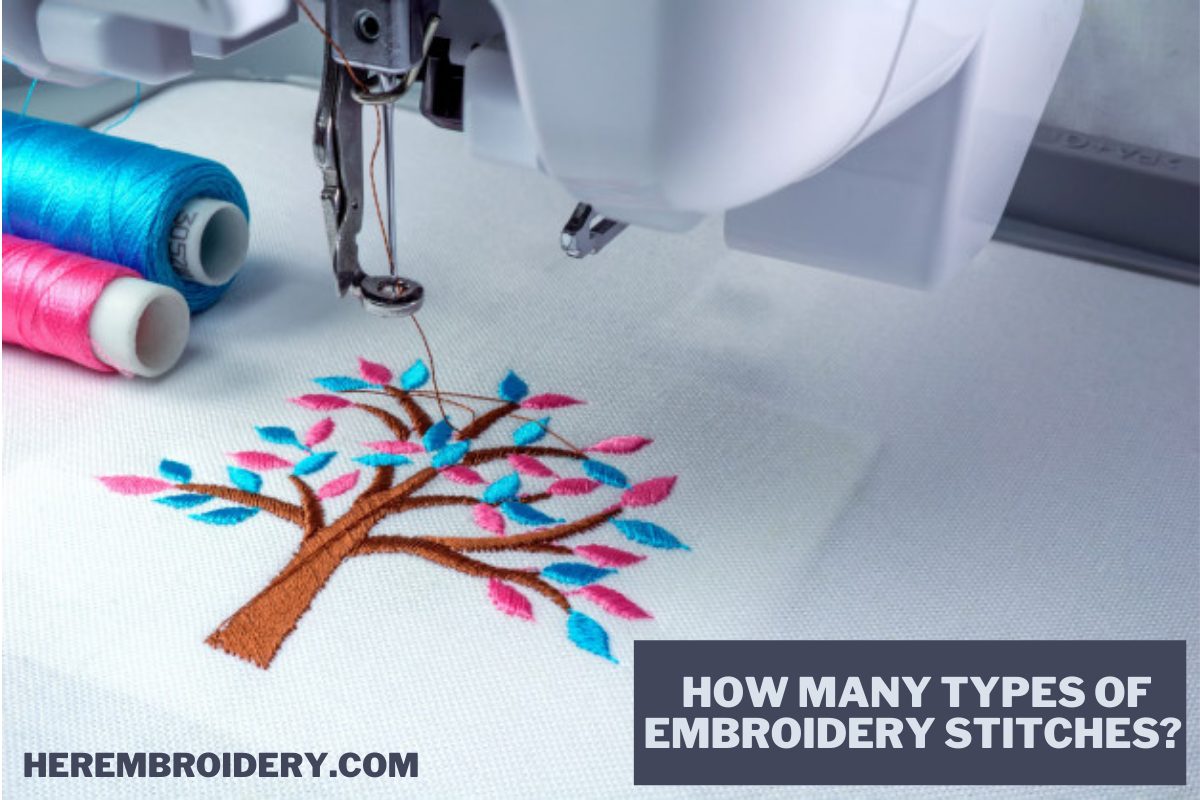
Embroidery stitches are basically applying thread on the fabric by a needle in different ways and patterns. There are so many stitches you can choose from to add elegance, value, and meaning to your designs. Here are some of the most basic embroidery stitches to create a beautiful design. However, you can also give an artistic touch to your clothes with the help of Best Embroidery Machines For Custom Design.
Types of Embroidery Stitches
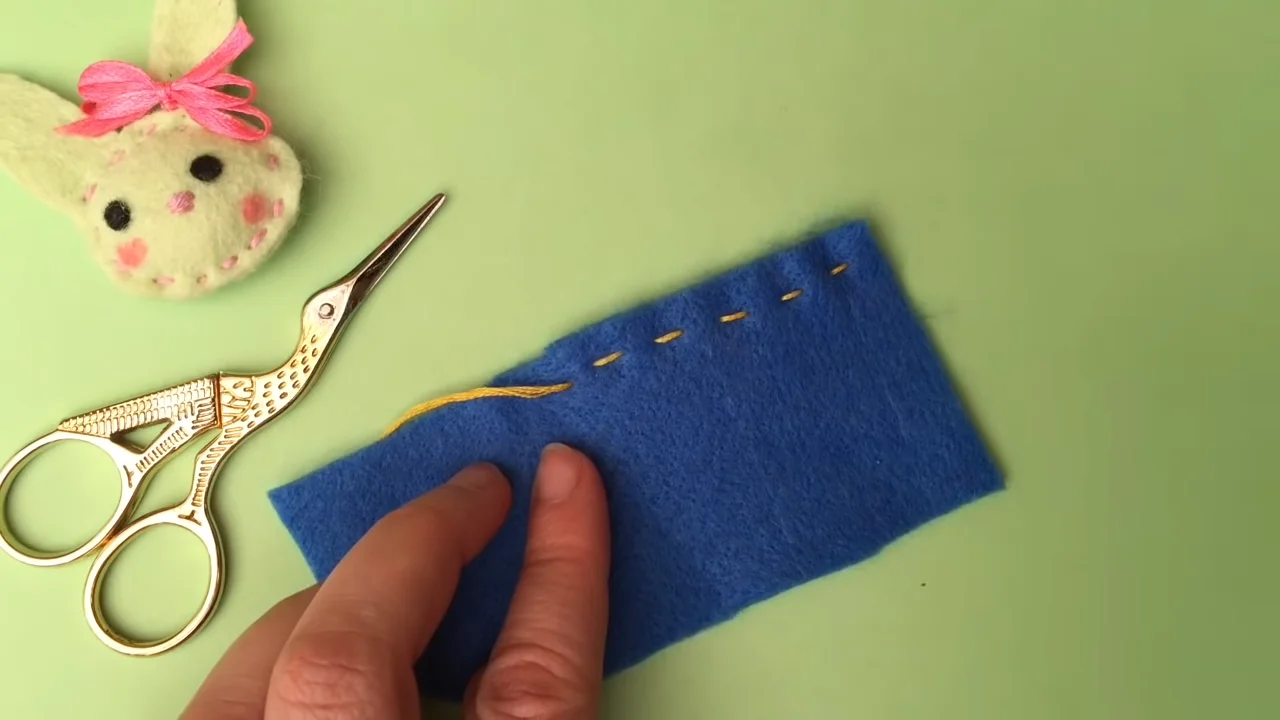
1. Running Stitch
Running stitch or straight stitch is one of the basic stitches which is widely in use for outlining or sewing almost anything. This simplest stitch is quite easy to do. Firstly, bring the needle up through the fabric, and then after the desired length pushes the needle down. The spacing between the stitches may vary. Repeat this punch and poke method to create several stitches.
2. Satin Stitch
This beautiful pattern of embroidery stitch can give a smooth appearance to your design. This stitch is specifically used for raised textures and it also saves a lot of time. For a Satin stitch, first, draw an outline of the shape and then start to fill in. For this purpose create one stitch with the needle and the thread and extend this stitch from one side of the outline to the other. Remember to keep the needle close, so that stitches are beautifully embedded. Keep on filling the shapes so the end is a beautiful satin stitch. Moreover, if you are new to this field then you can start with Best Embroidery Machines for Beginners.
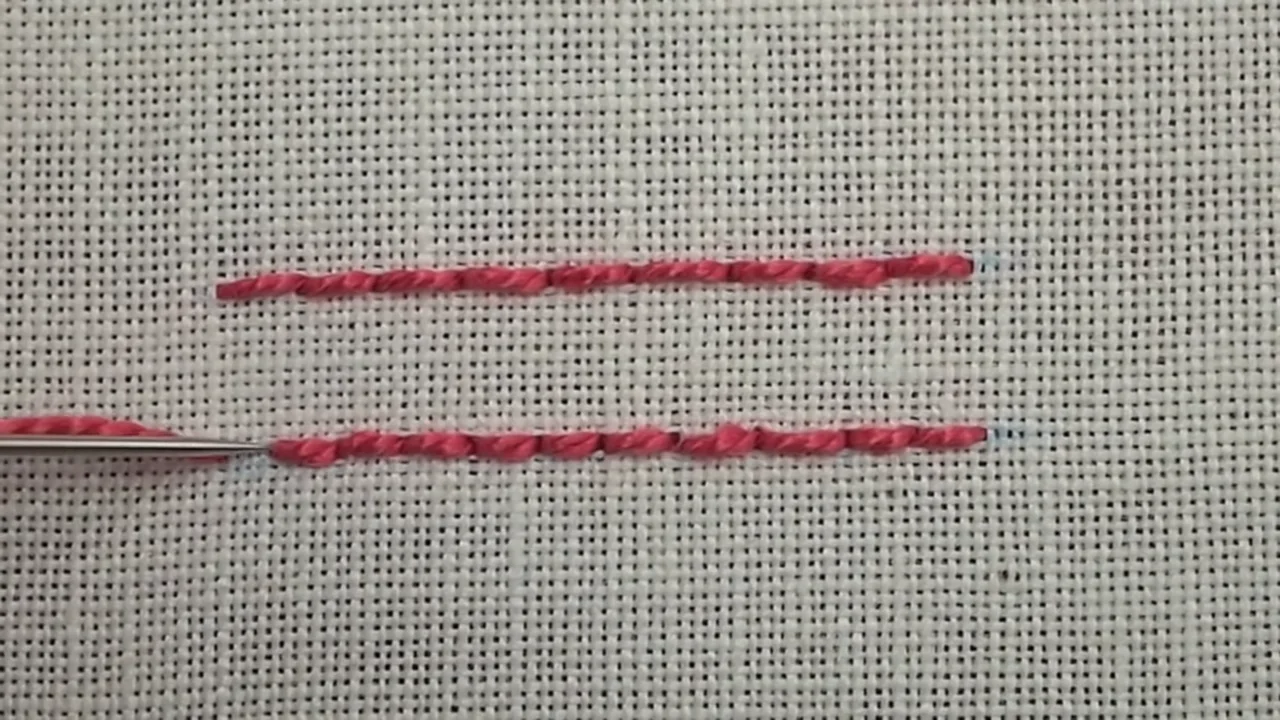
3. Split Stitch
This type of stitch has an extraordinary braided texture that gives you a pleasant feeling and is a wonderful choice for outlines and text but is also ideal for filling in the design. For creating the split stitch, pull the needle and the thread upwards through the fabric and then create a straight stitch
Now as the needle is on the underside of the hoop pass the needle through the centre of the already created stitch and then stitch forward and make sure it is the same length as the first one. Repeat these steps to make a magnificent split stitch.
4. Back Stitch
This type of stitch is the most common embroidery stitch you will find. This outlining stitch is extensively used in embroidery work for adding more definition to the designs. It creates more uniform and smooth texts and solid border lines.
To backstitch, bring the needle up through the fabric, leave some space, and push the needle back down again. Then leave a little space. Bring the needle up in front of the first stitch, pierce it down at the end of the first stitch. Repeat this way to make a solid line.
Furthermore, you can also visit Best Embroidery Machines for Monogramming because they have a large storage capacity for data storage
5. Chain Stitch
It is one of the most basic embroidery techniques that is copiously used on the outside of letters and shapes to create a thicker border. A series of looped stitches make a chain-like pattern. It adds great texture and beauty to the design.
To create a chain-like pattern start by bringing up the needle and then pushing it back immediately next to the same hole. Don’t pull the whole thread, leave a little thread to make a loop at the top. Next, bring up the needle just inside the loop at the top. Now secure the loop by making a small stitch, for that, cross over the loop and push the needle back again. Repeat this several times to make the chain stitch.
Moreover, The embroidery vs cross stitch guide will help you make an informed decision to start an exciting journey into the stitching world.
6. French Knot
This decorative stitch may seem daunting to create at first but it takes a little effort to master this delicate and cute stitch. You can use them for creating fine details, decorative dots, filling flower centres, leaves, plants, eyes.
Bring up the needle through the fabric. Wrap the thread around the needle 1-3 times. A number of twists will determine the size of the knot. Hold the thread tightly and then using your other hand push back the needle through the fabric right next to the first hole. Pull the thread all the way through. Follow the same way and create as many knots as you wish.
You can use all of these common stitches to pour in decorative details, textural dimension secure edges, and solidly fill in a design area. You can keep them as simple as they are or mix, combine, and join together to create eye-popping and elegant pieces of designs and patterns.